
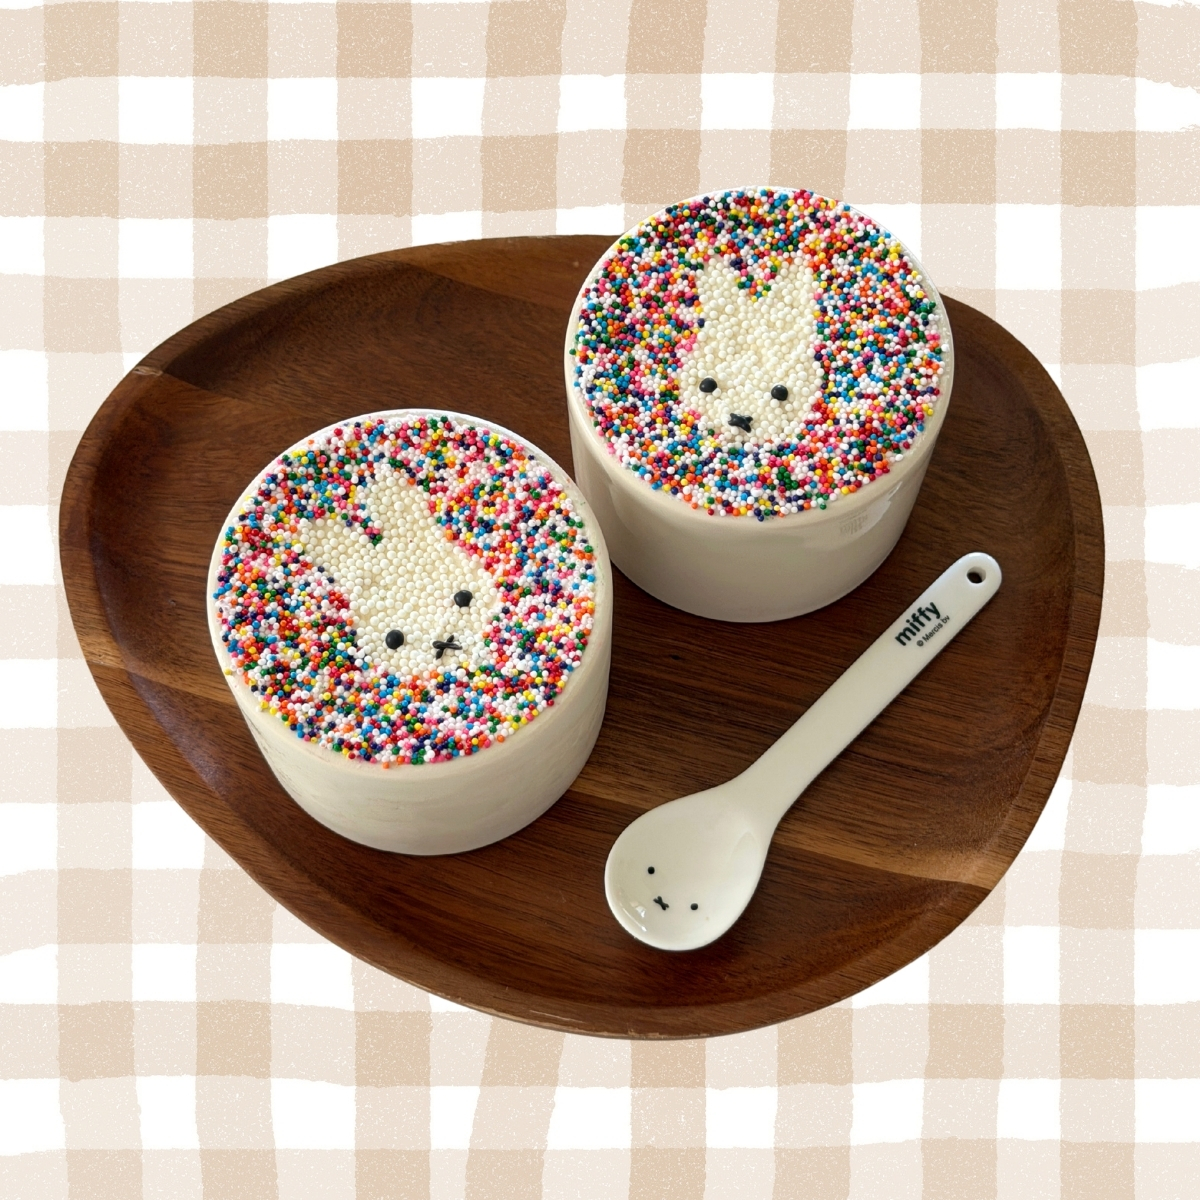
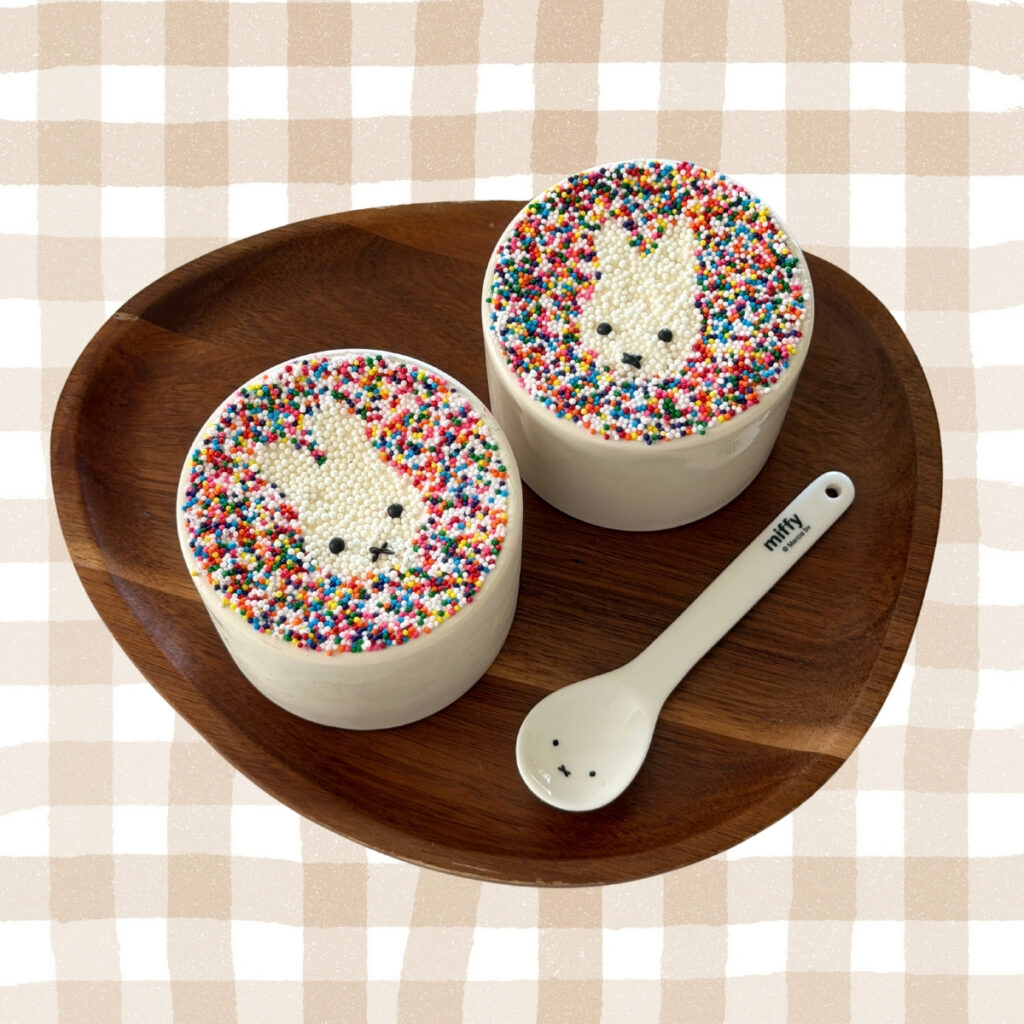
These dot cakes have been all over my social media algorithm, and I completely understand why. They are so satisfying to eat and honestly just as fun to make. I was so inspired to make my own Miffy version, and this extra step to make it Miffy-themed is not difficult at all.
The start of this recipe is the rainbow nonpareils. I think dot cakes went viral on social media because the top layer is so satisfyingly hard while the cake and buttercream are soft. Thus, you get a nice crunchy texture with each bite. And with a simple stencil, the design options are unlimited! I could see people make this for a Miffy-themed birthday, or even changing the designs for any occasion. The recipes on social media are typically made with box cake and store-bought frosting, but baking from scratch can elevate this recipe to the next level. Though no judgment if you prefer to use box cake and store-bought frosting. Just skip over right to the decorating stage of this recipe!
Watch my Instagram Reel for a quick step-by-step process on how to decorate your dot cakes.
What are dot cakes?
Dot cakes are individual rounds of vanilla sheet cake, covered in a generous layer of buttercream and coated in rainbow nonpareils. Shoutout to The Dotcakes, the NY-based bakery that helped make this trend a thing. Their sprinkle cake cups are the OG inspo! But since I’m not in New York, I’ll have to make them at home. To take it to the next kawaii level, a simple parchment stencil creates a clean bunny-shaped window of white sprinkles on top, with tiny piped chocolate dots for Miffy’s eyes and that signature little X for her mouth. The dot cake trend started on TikTok as a way to make individual servings from a sheet cake, and the sprinkle-covered rounds have taken on a life of their own.
What ingredients do you need?
The full recipe with exact measurements is in the recipe card below, but here is a quick overview. For the cake, you will need all-purpose flour, baking powder, salt, unsalted butter, granulated sugar, eggs, vanilla extract, and whole milk. The buttercream is a classic vanilla version made with unsalted butter, powdered sugar, heavy cream, vanilla extract, and a pinch of salt. For decorating, you will need rainbow nonpareils, white nonpareils, and dark chocolate candy melts for piping Miffy’s face.
What tools do you need?
You will need a 9×13 inch baking pan and a stand mixer or hand mixer for the batter. For cutting the dot cakes, an 8–10oz round cup works perfectly, just press straight down and twist slightly to release. I used Gustaf Westman’s chunky mug in my recipe. A round cookie cutter gives even cleaner edges if you have one. An offset spatula makes frosting the tops much easier. For the Miffy stencil, you just need a piece of parchment paper and scissors, and for her face, a small piping bag or a zip-lock bag with a tiny corner snipped off.
How do I make the Miffy stencil?
Draw Miffy’s head shape on a piece of parchment paper, a round face with two small rounded ears on top, and carefully cut it out. The stencil should fit comfortably within the diameter of your cake rounds with a little space around the edges. Lay it on top of the frosted cake and press it down gently. Spoon or dip the cup into the rainbow nonpareils over all the exposed buttercream around the stencil, pressing lightly so they stick. Then peel the stencil away to reveal the clean Miffy silhouette, and fill that area with white nonpareils. The contrast is everything (and lowkey, it’s giving color blind tests. If you know, you know).
Tips for perfect Miffy dot cakes
Chill the baked cake for about 30 minutes before cutting, it makes the rounds much cleaner and neater. Frost generously, because thin buttercream will not hold the nonpareils well. The stencil lifts most cleanly when the buttercream is slightly set, so a short chill after frosting and before adding the sprinkles helps a lot. When it comes to Miffy’s face, keep it simple with just two dots and a small X. You could even try to find black sprinkles to keep it all the decorations as sprinkles.
How do I store dot cakes?
Store the finished dot cakes in an airtight container at room temperature for up to 2 days, or in the refrigerator for up to 4 days. The nonpareils can bleed slightly in a humid environment, so room temperature storage is ideal if you are eating them the same day. The undecorated cake rounds can be frozen for up to 2 months, just decorate after thawing for the best results.
More cute recipes to try: If you love these, you might also like my Miffy beignets, Miffy pazookie, and Miffy mango sticky rice.
PrintMiffy Dot Cakes
A viral TikTok trend turned kawaii — vanilla sheet cake cut into adorable rounds, topped with buttercream and rainbow nonpareils, with a Miffy bunny stencil on top.
- Prep Time: 30 minutes
- Cook Time: 30 minutes
- Total Time: 1 hour
- Yield: 6 dot cakes
- Category: Dessert
- Cuisine: American
Ingredients
Cake
- 2½ cups all-purpose flour
- 2½ tsp baking powder
- ½ tsp salt
- ¾ cup unsalted butter, room temperature
- 1½ cups granulated sugar
- 3 large eggs
- 2 tsp pure vanilla extract
- 1 cup whole milk, room temperature
Vanilla Buttercream
- 1 cup unsalted butter, room temperature
- 6 cups powdered sugar, sifted
- 4 tbsp heavy cream
- 1 tbsp pure vanilla extract
- Pinch of salt
Decorating
- 2 cups rainbow nonpareils sprinkles
- ½ cup white nonpareils sprinkles
- 2 tbsp dark chocolate candy melts
Instructions
- Prep your pan — Preheat oven to 350°F. Grease a 9×13 baking pan and line with parchment paper.
- Whisk dry ingredients — In a medium bowl, whisk together flour, baking powder, and salt. Set aside.
- Cream butter and sugar — In a stand mixer or with a hand mixer, beat butter and sugar on medium-high for 3–4 minutes until light and fluffy.
- Add eggs and vanilla — Add eggs one at a time, mixing well after each. Mix in vanilla extract.
- Alternate wet and dry — With the mixer on low, add the dry ingredients in three additions, alternating with milk (start and end with flour). Mix until just combined — don’t overmix.
- Bake — Pour batter into prepared pan and smooth the top. Bake for 28–33 minutes, until a toothpick inserted in the center comes out clean.
- Cool completely — Let the cake cool in the pan for 15 minutes, then transfer to a wire rack and cool completely before cutting.
- Make the buttercream — Beat butter on medium-high for 3–4 minutes until pale and fluffy. Add powdered sugar one cup at a time on low. Mix in vanilla and salt, then add heavy cream one tablespoon at a time until smooth and spreadable. Beat on medium-high for 2 more minutes.
- Cut your dot cakes — Use an 8–10oz cup to punch out circles from the cooled cake — press straight down and twist slightly to release. A round cookie cutter gives even cleaner edges. You’ll get about 6 rounds.
- Make the Miffy stencil — Draw Miffy’s head shape (a round face with two small rounded ears on top) on parchment paper and cut it out. The stencil should fit within the diameter of your cake rounds with a little room around the edges.
- Frost the tops — Spread a generous, smooth layer of buttercream on top of each dot cake — about ¼ inch thick. Smooth flat with an offset spatula.
- Place stencil and add rainbow sprinkles — Lay your Miffy parchment stencil on top of the frosted cake and press gently. Spoon rainbow nonpareils over the exposed area around the stencil, pressing lightly so they adhere.
- Add white sprinkles for Miffy — Carefully peel off the stencil to reveal the bunny-shaped window. Spoon white nonpareils over the exposed buttercream and press gently. The white against the rainbow creates that clean, graphic Miffy contrast.
- Pipe Miffy’s face — Melt dark chocolate candy melts in a small piping bag or zip-lock bag with a tiny corner snipped. Pipe Miffy’s two dot eyes and small X-shaped mouth. Let set for a few minutes before serving.
Notes
- Chill the cake for 30 minutes before cutting for the cleanest rounds
- Frost generously — thin buttercream won’t hold the sprinkles well
- The stencil lifts cleanest when the buttercream is slightly chilled and set before you dip into sprinkles
- Less is more with Miffy’s face — her expression is minimal by design!
Get new cute recipes in your inbox.