
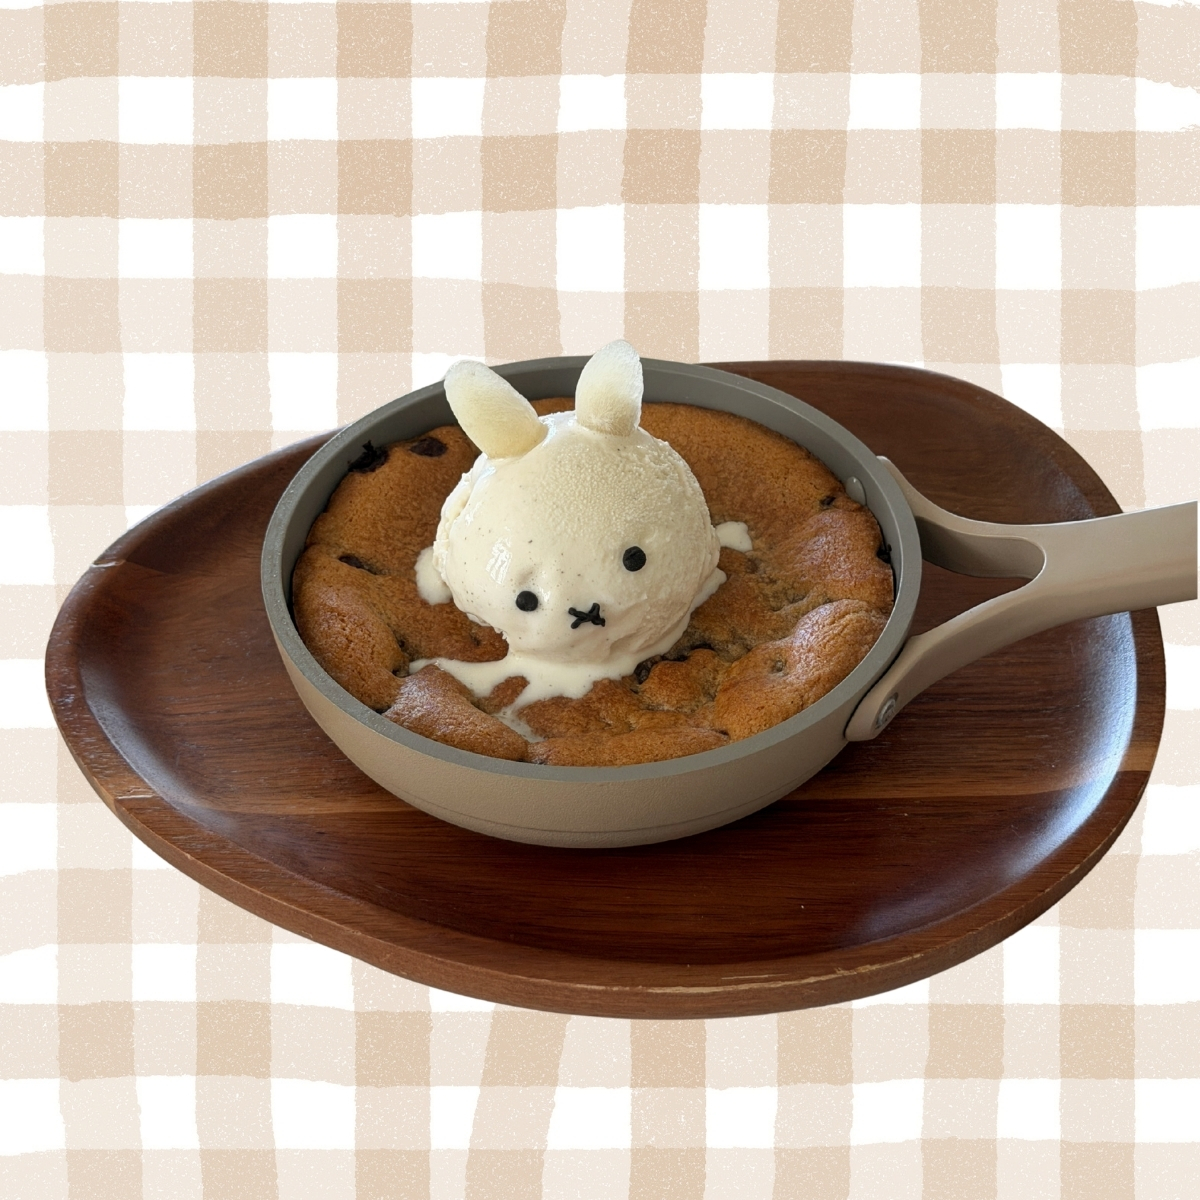
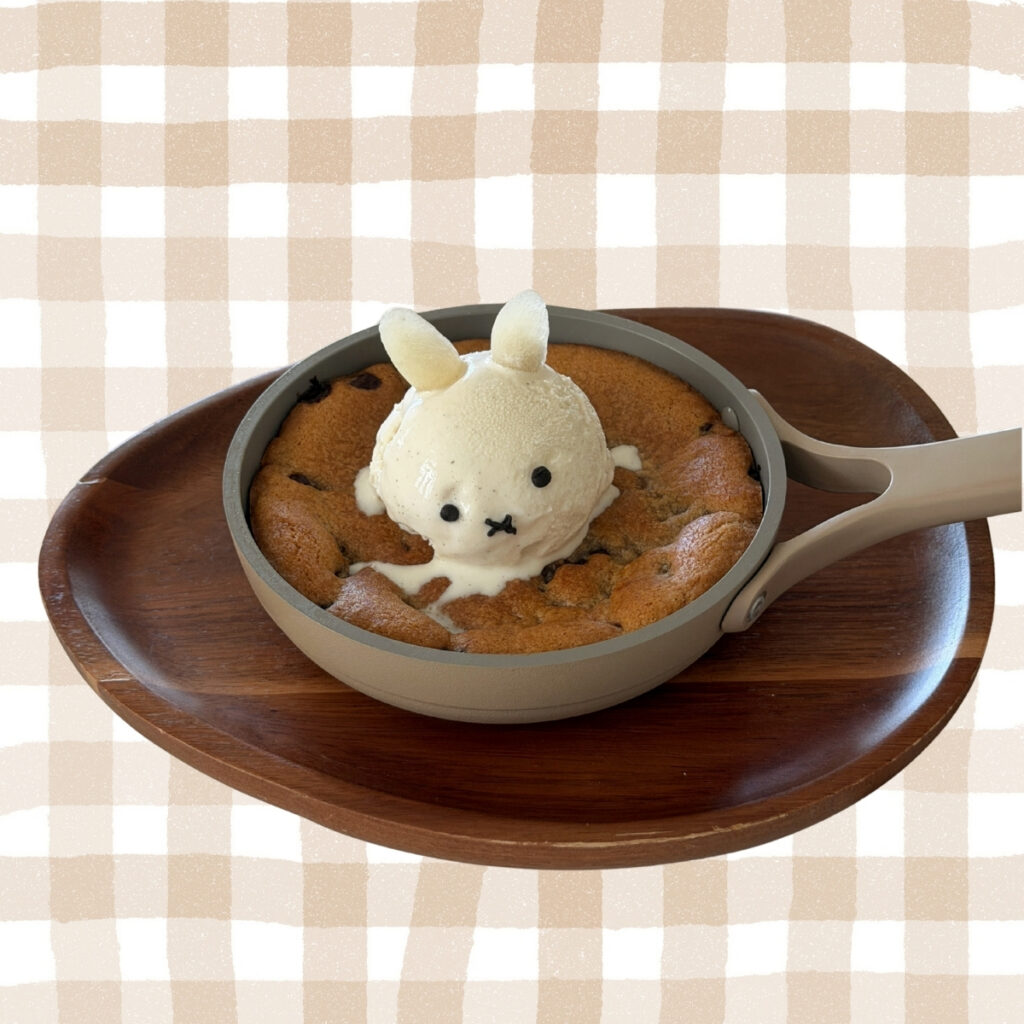
Is there anything better than a warm, gooey skillet cookie straight out of the oven? And you’re not using your free will enough if your vanilla ice cream doesn’t look like Miffy.
The secret weapon here is the Our Place Tiny Always Pan. It is the perfect size for a single-serving pazookie, and it goes from oven to table looking adorable. The ceramic nonstick coating means your cookie slides right out (or you just eat it straight from the pan, which is what I do every time).
What is a pazookie?
A pazookie is a pan cookie, baked just until the edges set and the center stays warm and molten. The name comes from BJ’s Restaurant, which made the dessert famous, but the concept is simple: underbake a thick cookie in a small pan, serve it hot, and pile ice cream on top. It is halfway between a cookie and a lava cake and fully worth it.
What makes this Miffy-themed?
The Miffy decoration is the best part and it is much simpler than it looks. Miffy’s iconic ears are made from Mochi candy (you can also use white chocolate melts if you prefer), and her face details are piped on with black candy melts. Two tiny dots for eyes and a small X for her mouth– easy!
What ingredients do you need?
The full recipe is in the recipe card below, but here is a quick overview. For the cookie base you will need unsalted butter, granulated sugar, brown sugar, an egg yolk, vanilla extract, all-purpose flour, cornstarch, baking soda, salt, and chocolate chips. For serving, just a scoop of vanilla ice cream. For the Miffy decorations you will need Mochi candy or white chocolate melts for the ears, and black candy melts for her face.
What tools do you need?
The star of the show is the Our Place 5.5″ Tiny Always Pan. The wide, shallow shape is perfect for getting that crispy edge and gooey center ratio just right. You will also need a small mixing bowl, a whisk, a spatula, and a small piping bag or zip-lock bag with a tiny corner snipped for Miffy’s face details.
Tips for the perfect pazookie
Pull the pazookie out of the oven when the center still looks slightly underdone and glossy. It will continue to set from the residual heat of the pan, and you want it warm and molten when the ice cream goes on top. Because the Always Pan has a ceramic nonstick coating, you only need a very light swipe of butter before adding the dough. Start checking at 11 minutes and trust your eyes over the timer.
How do I make Miffy’s ears?
For Mochi candy ears, simply cut two small rounded ear shapes from a piece of white Mochi candy. Press them gently into the top of the ice cream scoop so they stand up. If you are using white chocolate melts instead, pipe or spoon two small ear shapes onto a piece of parchment, let them set completely, then place them into the ice cream the same way. Work quickly once the ice cream is on the hot cookie so everything stays in place.
How do I pipe Miffy’s face?
Melt a small amount of black candy melts and transfer to a small piping bag or a zip-lock bag with a tiny corner snipped. Pipe two small dots for eyes and a small X for Miffy’s mouth directly onto the ice cream scoop. Keep it minimal, that is the whole Miffy vibe. If it’s hard to pipe directly on the ice cream, you can pipe the face out on a cookie sheet, let it cool, and then use kitchen tweezers to place it on the ice cream scoop.
More cute recipes to try: If you love these, you might also like my Miffy beignets, chocolate bear Rice Krispies treats, and Miffy dot cakes.
PrintMiffy Pazookie
A single-serving skillet cookie baked in the Our Place 5.5″ Tiny Always Pan, topped with a scoop of vanilla ice cream and decorated with Miffy’s iconic ears and face. Warm, gooey, and completely kawaii. 🐰
- Prep Time: 10
- Cook Time: 13
- Total Time: 23
- Yield: 1 pazookie
- Category: Dessert
- Cuisine: American
Ingredients
Cookie
- 1½ tbsp unsalted butter, melted
- 1 tbsp granulated sugar
- 1 tbsp packed brown sugar
- 1 large egg yolk
- ¼ tsp vanilla extract
- 3 tbsp all-purpose flour
- ¼ tsp cornstarch
- ¼ tsp baking soda
- 1 pinch fine sea salt
- 2 tbsp chocolate chips
Toppings and Decorations
- 1 scoop vanilla ice cream
- 2 pieces Mochi candy (or white chocolate melts), for Miffy’s ears
- 1 tsp black candy melts, melted, for Miffy’s face
Instructions
- Preheat oven to 350°F (175°C). Lightly butter the inside of your Our Place 5.5″ Tiny Always Pan.
- Mix wet ingredients — In a small bowl, whisk together melted butter, granulated sugar, and brown sugar until combined. Add the egg yolk and vanilla extract and whisk until smooth and slightly glossy, about 30 seconds.
- Add dry ingredients — Add flour, cornstarch, baking soda, and salt directly to the bowl. Stir with a spatula until just combined. Fold in chocolate chips.
- Fill the pan — Scoop the dough into your prepared pan and press into an even layer. It should fill the pan about ¾ of the way.
- Bake for 12 to 14 minutes, until the edges are set and golden but the center still looks slightly underdone and glossy.
- Prep the ears — While the cookie bakes, shape your Miffy ears. For Mochi candy, cut two small rounded ear shapes. For white chocolate melts, pipe ear shapes onto parchment and let set completely.
- Top and decorate — Let the cookie rest for 2 to 3 minutes, then add a scoop of vanilla ice cream. Press the ears into the top of the scoop. Pipe two small dots and a small X onto the ice cream with melted black candy melts.
- Serve immediately straight from the pan.
Notes
- The Always Pan retains heat well, so pull the cookie out when the center still looks glossy. It will finish setting while you decorate.
- Mochi candy ears are the easiest option since they hold their shape without any extra prep. White chocolate melt ears need a few minutes to set on parchment before they are sturdy enough to stand up in the ice cream.
- Work quickly once the ice cream is on the hot cookie so your decorations stay in place before the scoop melts.
- Cornstarch is the secret to a thick, chewy texture even in this tiny batch. Do not skip it!
Get new cute recipes in your inbox.